
Delish Chocolate Lava Cakes
If you like your chocolate molten, slightly dramatic, and capable of causing grown adults to temporarily forget their manners, these Delish Chocolate Lava Cakes are for you. Think gooey, fudgy centers that burst like tiny dessert volcanoes when you stab them with a spoon. Fancy enough to impress a date, forgiving enough to make after-school snack duty feel like haute cuisine. Also, fewer ingredients than your last relationship—so there’s that.
Once, I tried to be clever and let the kids “help” with the batter. They interpreted that as “paint the countertops with chocolate” and “taste test until only crumbs remained.” My husband, in an attempt to be useful, squeezed the ramekin too enthusiastically and launched a lava cake onto the oven rack. It survived (miraculously), but now we have a family story that includes the phrase “the day dessert decided to fly.” I laugh about it now, mostly because I’ve practiced saying “we’ll call it rustic” in the mirror.
MORE OF OUR FAVORITE…
Why You’ll Love This Delish Chocolate Lava Cakes
– Because it looks like you worked all afternoon, when really you just timed the oven correctly.
– Gooey center: the part your inner drama queen demands.
– Minimal ingredients, maximum applause. Someone will always volunteer to do the dishes—allegedly.
– Perfect for “I deserve this” nights or “I messed up dinner and need to redeem myself” nights.
Time-Saving Hacks
– Melt chocolate and butter in the microwave in short bursts. Stare into the bowl like a conductor and stir between bursts. No double boilers, less drama.
– Use silicone ramekins or a muffin tin lined with foil so you can turn them out without a buttering sermon. Fewer pans = less guilt.
– Make the batter ahead and refrigerate in a piping bag or zip-top bag. Pipe straight into ramekins when ready. Looks fancy; requires minimal coordination.
– Swap homemade ganache for store-bought chocolate sauce and nobody needs to know.
– Bake multiples at once and freeze extras. Thaw and zap in the oven for “fresh” desserts when company arrives. Because we both know the oven does the real work.
Serving Ideas
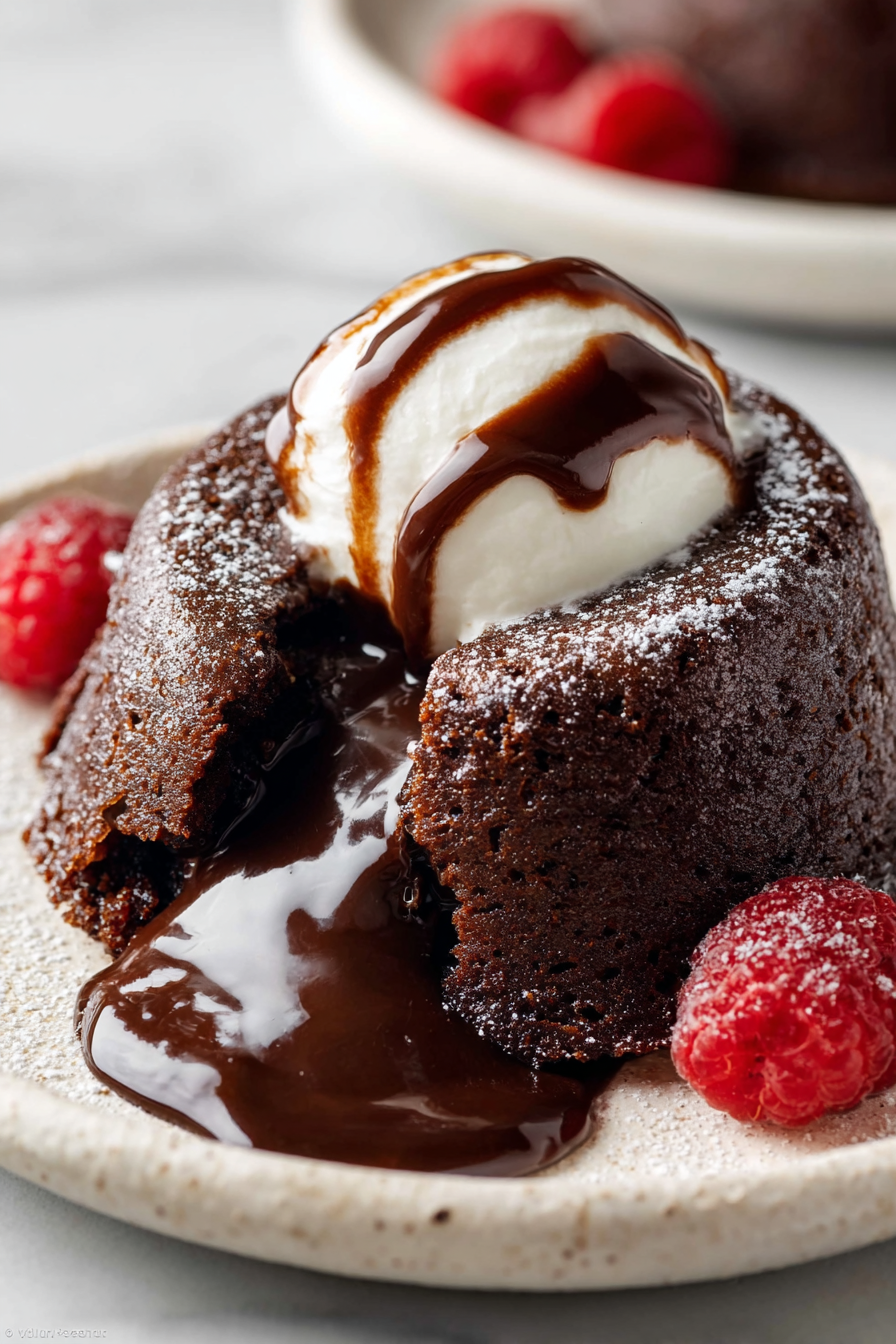
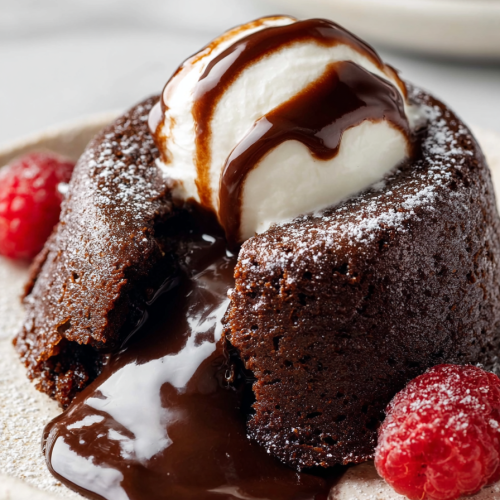
– Dust with powdered sugar, add a scoop of vanilla ice cream, and act like this was intentional.
– Drizzle with caramel or raspberry sauce if dramatic contrast is your thing.
– Serve with coffee for late-night philosophers and wine if the kids drove you nuts.
– Keep it simple: a single ramekin, a spoon, and zero judgment.
What to Serve It With
A scoop of vanilla ice cream, a dollop of whipped cream, or a handful of fresh berries—choose your level of health denial. Espresso or a bold red wine pairs nicely if you want to feel cultured while your shirt acquires chocolate evidence.
Tips & Mistakes
– Underbaked = glorious molten center. Overbaked = more cake, less lava. Time it and test one if you’re unsure.
– Grease and flour ramekins (or use cocoa powder) so the cake releases without a fight. I learned this after a dramatic, sticky rescue mission.
– Use good chocolate. No need to break the bank, but cheap chocolate = sad center.
– Let them rest for 30 seconds after baking before inverting. Yes, impatient people, that extra 30 seconds matters.
Storage Tips
Store it in the fridge… if there’s any left. Cold midnight leftovers? Sometimes better than fresh.
To reheat: pop in a warm oven for 5–7 minutes or microwave low-power in 10–15 second bursts until warm in the middle. The center will forgive you.
Variations and Substitutions
Swap whatever you want—sugar ↔ honey, soy sauce ↔ tamari, or skip steps and call it “deconstructed.” It still counts.
– Add a pinch of espresso powder to deepen the chocolate flavor.
– Stir in a few chopped hazelnuts or a square of caramel in the center for surprises.
– For dairy-free: use coconut oil and a non-dairy chocolate. It’s still delicious.
Frequently Asked Questions
Delish Chocolate Lava Cakes
Ingredients
Main Ingredients
- 4 oz dark chocolate preferably 70% cocoa
- 0.5 cup unsalted butter
- 0.5 cup sugar
- 2 large eggs
- 0.25 cup all-purpose flour
- 0.25 teaspoon salt
Instructions
Preparation Steps
- Preheat the oven to 425°F (220°C). Grease four ramekins with butter and dust with flour.
- In a microwave-safe bowl, melt the dark chocolate and butter together. Stir until smooth.
- Stir in the sugar until combined. Add the eggs one at a time, mixing well after each addition.
- Fold in the flour and salt until just combined.
- Divide the batter evenly among the prepared ramekins.
- Bake for 12-14 minutes until the edges are set but the center is still soft.
- Let them cool for 1 minute, then invert onto plates to serve.