
Rainbow Buttercream Dream
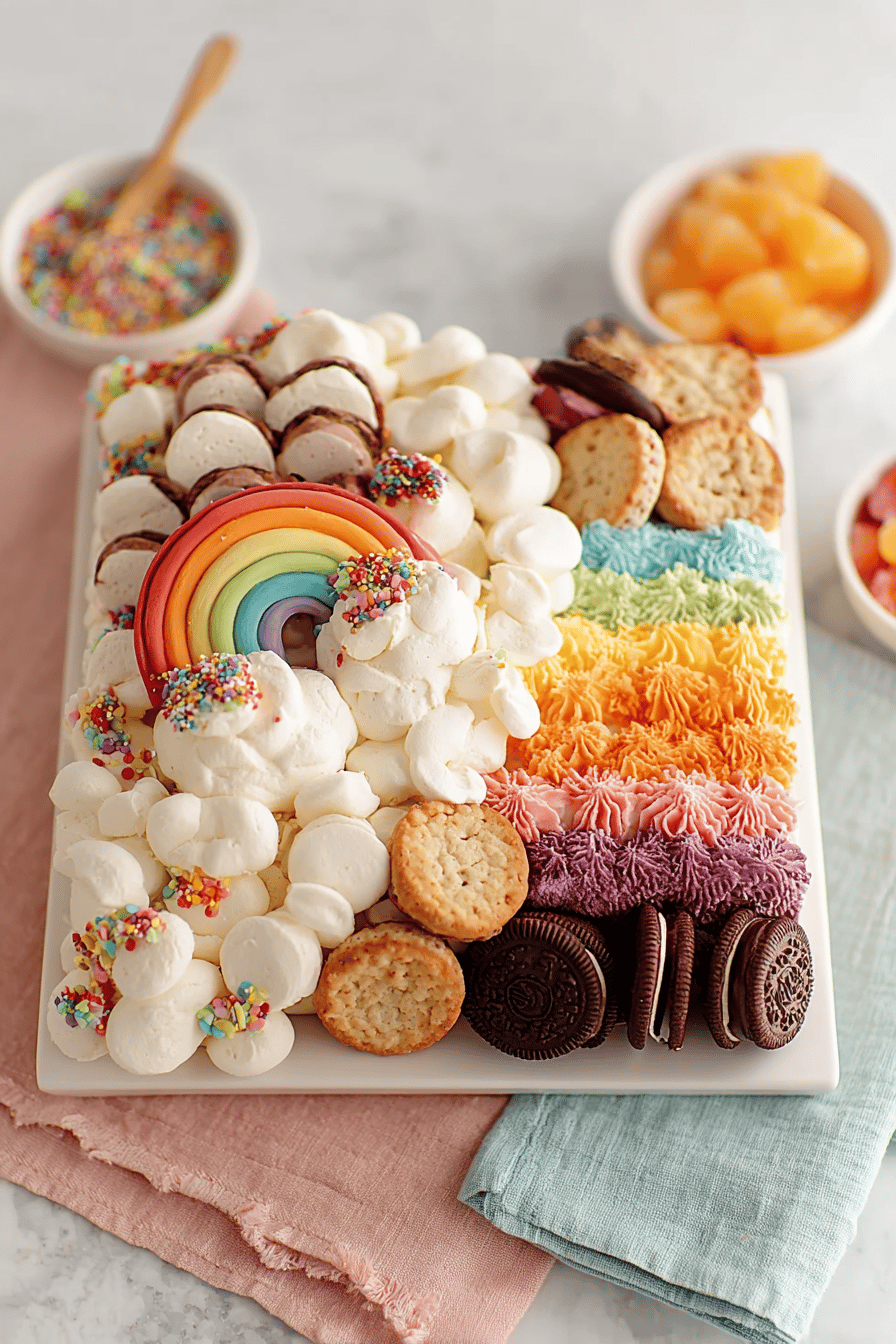
Okay, so here’s the deal: this Rainbow Buttercream Dream is a game-changer if there ever was one! Picture this — fluffy clouds of colorful, sweet magic that you can pile on any cake or cupcake to make them party-ready. It’s like an edible art project that also happens to be delicious. Trust me, once you try it, you’ll find yourself looking for excuses to whip it up over and over again.
Seriously, my husband and kiddos freak out every time I make this. It’s like the Picasso of frosting. My youngest calls it “happy cake paint” and the name has stuck. It’s become our go-to for birthdays, celebrations, or when there’s no reason at all, other than needing a burst of sunshine on a Wednesday. There’s just something about seeing those swirls of colors that can change the whole vibe of the day.
MORE OF OUR FAVORITE…
Why You’ll Love This Rainbow Buttercream Dream
1. It’s basically a coloring book you can eat!
2. Kids, adults, unicorns… EVERYONE loves it.
3. It’s forgiving. Make a mistake with the colors? Call it art!
4. Brings out everyone’s inner child or Bob Ross moment.
How to Make It
Alright, here’s where the magic happens, and it might get messy. Spoiler: probably will. First things first, start by whipping up your butter until it looks almost like the start of a storm cloud—fluffy and bright. Add your sugar, but not all at once unless you fancy wearing a powdered sugar scarf. Once it’s all creamy and dreamy, split into bowls for coloring. Think of yourself as a mad scientist or an artist right about now. Mix in those food colors—be bold or go pastel, your call! Last but definitely not least, grab a piping bag and go to town on whatever treat needs magic that day. Voila! You’ve got yourself a Rainbow Buttercream Dream.
Ingredient Notes
– Unsalted Butter: Keeps the base from being too salty, obviously. Forgot once and got salty cloud vibes. Not my fave.
– Powdered Sugar: Essential for that sweet structure. Don’t skip or you’ll have soup, not frosting.
– Food Coloring: Go wild! But make sure it’s gel-based for those vivid shades. Liquid makes it too runny—learned that the hard way.
Recipe Steps:
1. Whip butter until light and fluffy.
2. Gradually add powdered sugar, beating until smooth.
3. Divide frosting into bowls and mix in desired food coloring.
4. Use a piping bag to apply frosting onto cakes or cupcakes.
What to Serve It With
Tips & Mistakes
Storage Tips
Ah, leftovers… if you’re lucky enough to have any! Pop the leftover frosting into an airtight container and put it in the fridge. It’ll keep for about a week. If you accidentally eat it cold, it kinda tastes like ice cream and I’m definitely not complaining. Oh, and if you decide to smear it on toast for breakfast, I’m not judging.
Variations and Substitutions
When supplies are low, I get creative. Swap honey instead of granulated sugar for a different sweetness vibe. Try almond or vanilla extract to shake things up a bit—but not both unless you’re into flavor chaos! Skipping colors and ending up with just a plain buttery dream is also okay. No shame in that!
Frequently Asked Questions

Rainbow Buttercream Dream
Ingredients
Main Ingredients
- 1 cup unsalted butter, softened
- 4 cups powdered sugar sifted
- 2 tablespoons heavy cream
- 1 teaspoon vanilla extract
- 0.25 teaspoon salt
- 8 drops food coloring gel assorted colors
Instructions
Preparation Steps
- In a large bowl, beat the softened butter with an electric mixer until creamy and smooth.
- Gradually add sifted powdered sugar, one cup at a time, while continuously mixing on low speed.
- Add heavy cream, vanilla extract, and salt. Increase mixer speed to medium and beat until fluffy, about 3-4 minutes.
- Divide the buttercream into separate bowls and add different food coloring gels to each to create rainbow colors.
- Use immediately to frost cakes or cupcakes, or store in airtight containers until ready to use.