
Hawaiian Paradise Cake
Oh, my word, folks. Gather ‘round because I’m dishing out a slice of heaven today. Meet the Hawaiian Paradise Cake — it’s a tropical delight that’s like a vacation in every bite. Think layers of sunshine-y goodness with all the lusciousness of the tropics right in your very own kitchen. This cake is something special. It’s like a sunshine-filled hug. You gotta try it. Trust me, your taste buds will be doing a happy dance.
So, here’s a funny thing: my husband and our little family can’t seem to get enough of this cake. It’s literally become that dessert we all sneak into the fridge for. Sometimes I catch my husband stealing a slice at midnight and the kids think it’s their birthday on a random Tuesday. We’ve eaten it for breakfast — no regrets. It’s become a staple because it makes every day feel like a fiesta. One time, I accidentally swapped out the coconut milk for evaporated milk because, you know, mom brain. Still good! It’s one of those recipes you can’t mess up too bad, and everyone still begs for more.
MORE OF OUR FAVORITE…
Why You’ll Love This Hawaiian Paradise Cake
1. It’s like eating sunshine — Seriously, this cake brightens the dullest days.
2. The layers — Each bite is an adventure. Who doesn’t like adventures?
3. Perfectly imperfect — Made with a little chaos and love.
4. Impress your eaters — They’ll think you slaved away for hours. Let them think it.
How to Make It
Okay, so here’s the deal. You’re gonna need a bit of patience and a dash of “whoops, I need to stir that.” Mix your dry ingredients — flour, sugar, baking powder — easy, right? Then in another bowl, deal with the wet ingredients — cracked an egg on the counter once, no shame. Blend them together like a symphony. Stack your layers in pans you literally dug out from that one messy cabinet everyone has. Bake until the kitchen smells like a dream. Cool it down while you fend off curious snackers. Then frost it up with all the passion as if you’re painting a masterpiece. There you go, masterpiece!
Ingredient Notes
– **Pineapple Juice**: It’s your best friend here. Sweet and tangy, never skip it unless you actually want to.
– **Coconut Milk**: Ah, the creamy movers and shakers. You laugh when it clumps, but it’s everything you want to keep.
– **Flour**: Once, I mixed it with baking soda instead of powder. Always double-check that label!
Recipe Steps
1. Preheat your oven to 350°F.
2. Mix dry ingredients together in one bowl.
3. In another bowl, blend wet ingredients.
4. Combine wet and dry ingredients gently.
5. Pour into pans and bake.
6. Let cool before you frost.
What to Serve It With
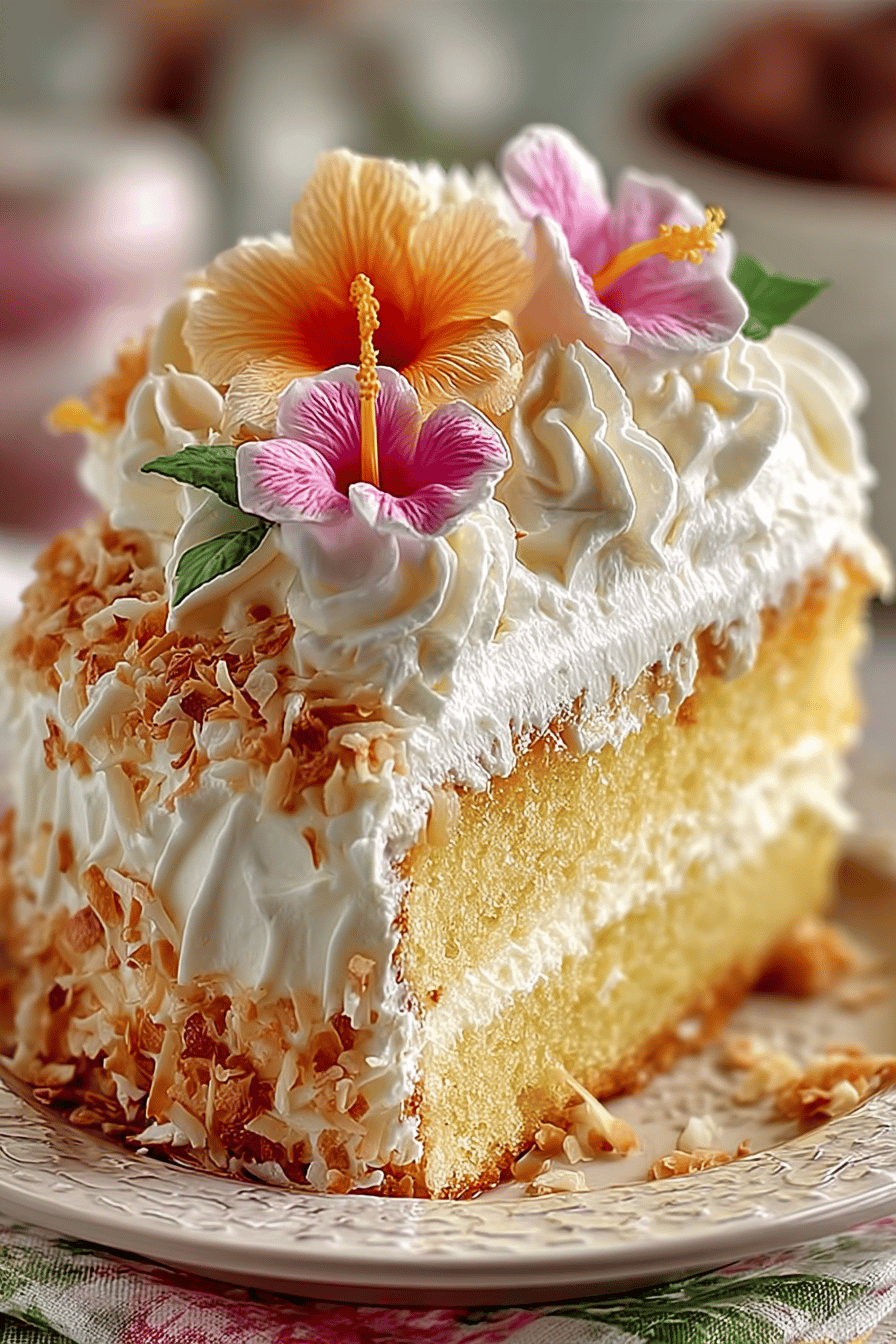
Serve it with a dollop of whipped cream or pretty much just your eager hands, but for fancy points, toss in a sprinkle of toasted coconut. Maybe throw in an umbrella just for fun.
Tips & Mistakes
Rule one, don’t rush. I learned that when I forgot sugar once. Double-check your ingredient list, and don’t be afraid to make a mess. That’s what baking’s about, honestly.
Storage Tips
If you’ve got any left, pop this paradise in the fridge. Let it chill, then indulge straight from the fridge — it’s oddly satisfying. Might even be better with coffee like a rebel breakfast.
Variations and Substitutions
Heads up, you can sub in almond milk for coconut milk when you’re in a pinch. Run out of sugar? Honey and maple syrup are cool sidekicks here. I once forgot the vanilla, and guess what? No protests, still delish.

Hawaiian Paradise Cake
Ingredients
Main Ingredients
- 2 cups all-purpose flour
- 1.5 cups granulated sugar
- 1 cup crushed pineapple drained
- 0.5 cup coconut flakes unsweetened
- 3 large eggs
- 0.25 cup vegetable oil
- 1 teaspoon vanilla extract
- 1 teaspoon baking powder
- 0.5 teaspoon salt
Instructions
Preparation Steps
- Preheat the oven to 350°F (175°C). Grease and flour a 9-inch round cake pan.
- In a medium bowl, whisk together the flour, baking powder, and salt.
- In a large mixing bowl, beat the eggs and sugar until light and fluffy. Add the vegetable oil and vanilla extract, mixing well.
- Gradually add the dry ingredients to the wet ingredients, folding gently until combined.
- Fold in the crushed pineapple and coconut flakes.
- Pour the batter into the prepared cake pan and bake for 40-45 minutes, or until a toothpick inserted in the center comes out clean.
- Allow the cake to cool completely before removing from the pan and serving.