
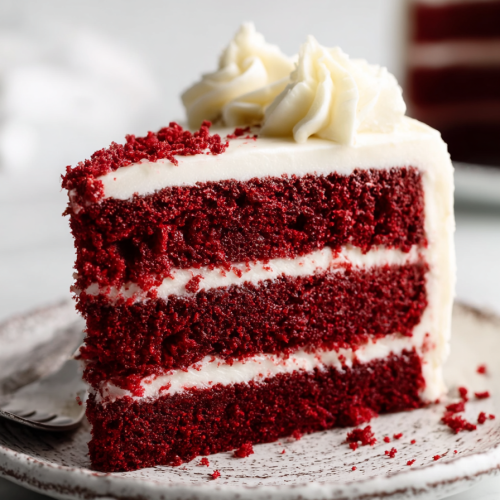
Delish Red Velvet Layer Cake with Cream Cheese Frosting
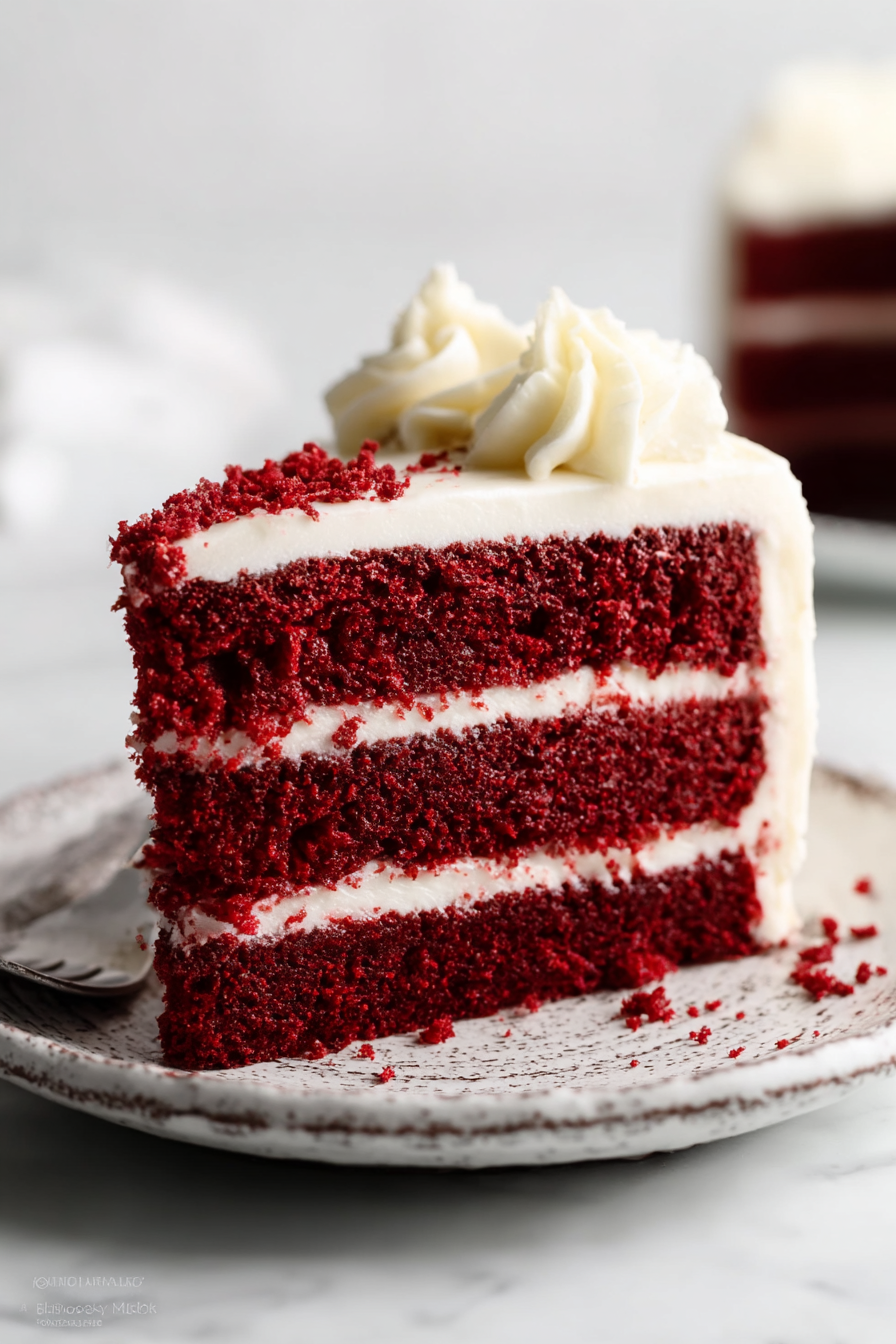
I make this cake like I make questionable life choices: with too much enthusiasm and absolutely no shame. The Delish Red Velvet Layer Cake with Cream Cheese Frosting is that velvet-smooth, slightly tangy, show-off kind of dessert that makes people nod like it solves childhood trauma. It’s special because it flirts with chocolate without committing, wears an iconic red coat, and hides a butter-and-cream-cheese hug in every forkful. Try it because it makes birthdays dramatic, dinners fancy, and grocery-store cupcakes jealous.
Once, I let my husband “help” with the frosting. He read one instruction, nodded, and proceeded to add all the powdered sugar at once while our toddler launched a plush dinosaur into the cake. The frosting ended up grainy, the cake had a Tyrannosaurus footprint (emotional distress only), and my husband swore he was “actually channeling a French pastry chef.” I forgave him because he did the dishes afterward—albeit in the oven because he thought that’s how appliances worked.
MORE OF OUR FAVORITE…
Why You’ll Love This Delish Red Velvet Layer Cake with Cream Cheese Frosting
– It tastes fancier than it is. People will assume you’ve been secretly baking for years. You don’t have to tell them about your flour-covered sweatpants.
– The cream cheese frosting makes every bite feel like a mild love letter to your sweet tooth.
– It’s versatile: dress it up for a party or eat it standing over the sink at 10 p.m. — both valid.
– It forgives mistakes. Mess up one layer and claim it was “rustic.”
Time-Saving Hacks
– Use a hand mixer and one bowl like a modern-day dessert superhero. Yes, you’ll get crumbs; no, you won’t judge yourself.
– Buy a cranky-but-good store-bought cream cheese frosting when you’re two kids and one broken casserole away from collapse. I won’t tell.
– Use parchment rounds instead of greasing and flouring pans — peel-and-go, less scrubbing.
– Do your oven-surfing: while one layer bakes, mix the next one. Multitasking chaos = efficiency.
– If you must, use a boxed cake mix and swap in buttermilk + cocoa + a splash of vinegar and red food coloring. It’s a tiny culinary lie, but the crowd never notices.
Serving Ideas
– Serve with black coffee if you want people to talk about your amazing choices instead of your life.
– Pair with sparkling wine if the kids drove you nuts that week. It’s therapy in bubbles.
– Add a scoop of vanilla ice cream for melting-magic drama. Yes, cold with cream cheese is weirdly perfect.
– Keep it simple: fork, plate, unapologetic seconds.
What to Serve It With
Think classic: fresh berries for brightness, a drizzle of warm chocolate if you’re feeling theatrical, or just a mug of coffee and judgment-free silence. I like to balance the sweetness with something tart, like lemon curd on the side if I’m impressing someone.
Tips & Mistakes
– Don’t overmix: Overmixing the batter makes the cake dense and sad. Mix until ingredients are just combined.
– Color control: Red intensity depends on your food coloring—gel gives better color with less liquid.
– Too dry? You probably baked it a minute too long. Tent with foil or check earlier next time.
– If your frosting breaks (separates), chill the bowl and beat slowly. If that fails, pretend it’s “rustic” and add decorative crumbs.
Storage Tips
Store it in the fridge… if there’s any left. Cold midnight leftovers? Sometimes better than fresh.
– Wrap slices tightly in plastic wrap or keep in an airtight container to prevent fridge-scavenging odors.
– At room temp: the cake is fine for a day if your kitchen isn’t a sauna. Longer than that—fridge it because cream cheese is not a rebel.
– Freezing: slice and flash-freeze on a tray, then bag. Thaw in the fridge overnight for best results.
Variations and Substitutions
Swap whatever you want—sugar ↔ honey, soy sauce ↔ tamari, or skip steps and call it “deconstructed.” It still counts. Try cocoa nibs for texture, swap half the oil for applesauce to be “healthier” (delusional but edible), or make the frosting lighter by folding in whipped cream. No judgment if you add extra sprinkles.
Frequently Asked Questions
Delish Red Velvet Layer Cake with Cream Cheese Frosting
Ingredients
Main Ingredients
- 0.5 cup butter, softened not null
- 1.5 cups granulated sugar not null
- 1 cup buttermilk, room temperature not null
- 2 cups all-purpose flour not null
- 0.5 cup cocoa powder not null
- 1 tablespoon red food coloring not null
- 1 tablespoon vanilla extract not null
- 3 large eggs, room temperature not null
Instructions
Preparation Steps
- Preheat the oven to 350°F (175°C) and grease two 9-inch round cake pans.
- In a large bowl, cream together the softened butter and granulated sugar until light and fluffy.
- Add the eggs one at a time, mixing well after each addition, then stir in the vanilla extract and red food coloring.
- In another bowl, combine the flour, cocoa powder, and baking soda.
- Gradually add the dry ingredients to the wet mixture, alternating with the buttermilk, mixing just until combined.
- Divide the batter evenly between the prepared cake pans and bake for 25-30 minutes, or until a toothpick inserted in the center comes out clean.
- Allow the cakes to cool in the pans for 10 minutes, then transfer to wire racks to cool completely.