
Eggnog Dream Cookies
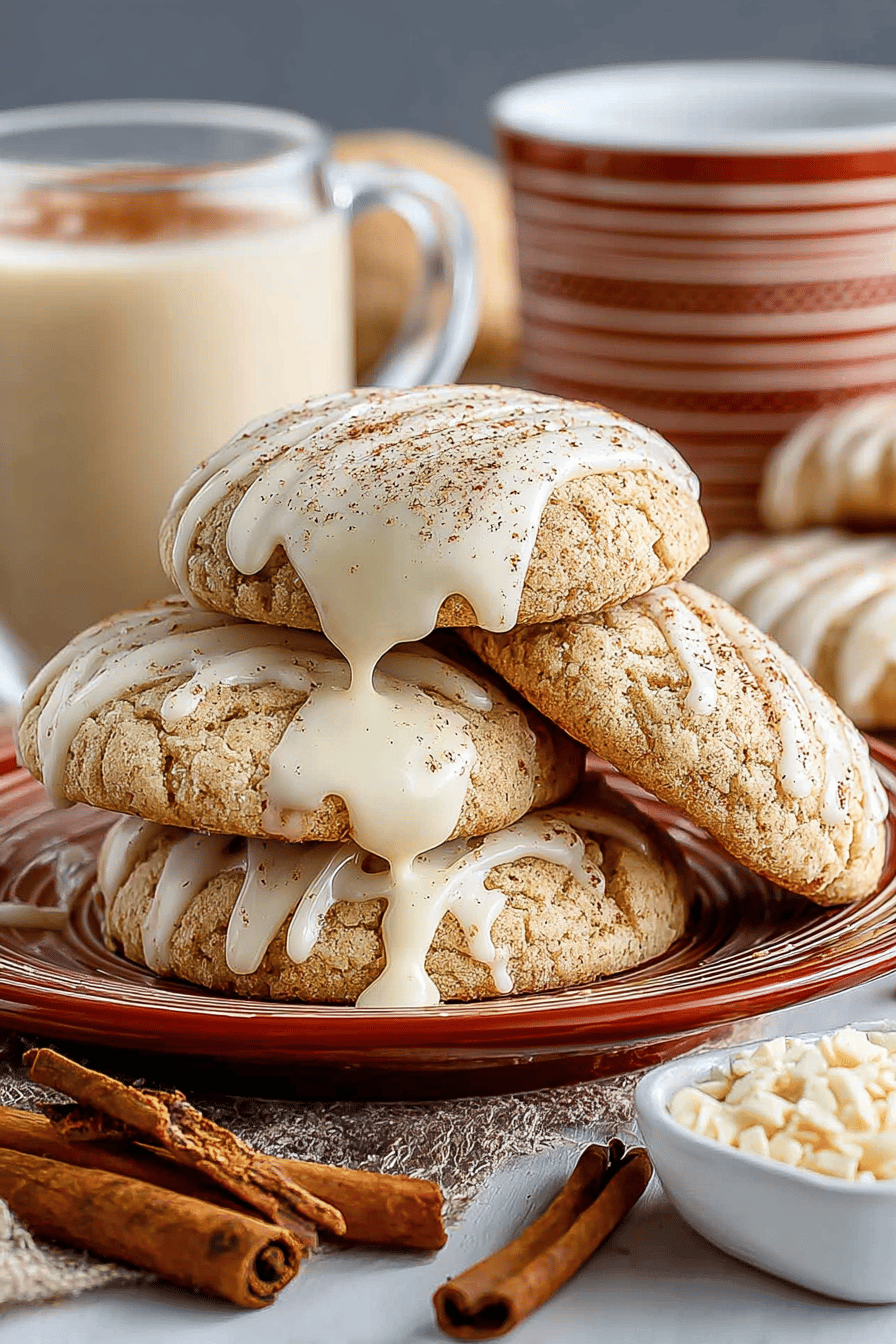
Every year, when the chill starts nudging at your bones and holiday lights twinkle on every corner, my kitchen becomes a little Eggnog Dream Cookies factory. And let me tell you, these dreamy cookies are like warm, cozy hugs for your mouth. If you’re one of those people who figures eggnog’s just for sipping — oh boy, think again. You need to try these. These cookies are all creamy, spiced goodness that’ll make your holiday gatherings feel a tad more special. And, spoiler alert: they may disappear before you know it.
**The Fun Times with My Family and These Cookies**
MORE OF OUR FAVORITE…
Alright, so imagine this: it’s the dead of December, the snow’s stacking up outside, and my hubby, who’s normally a savory guy, is raiding the kitchen for more Eggnog Dream Cookies. It’s become a sort of ritual. Our little family gathers around the frazzled Christmas tree, ornaments all lopsided, with these cookies in hand. They’re that special, bringing us together in all their slightly messy perfection. Oh, and that time when my youngest attempted to leave these for Santa? He ended up nibbling away all the edges. Suffice it to say, these cookies hold a chaos-filled spot in our hearts.
Why You’ll Love This Eggnog Dream Cookies
– They taste like Christmas hugged your taste buds.
– A delightful excuse to sneak in more eggnog (yes, please!).
– Perfectly imperfect for those who “accidentally” mess up shapes but still taste oh so good.
How to Make It
Alrighty, let’s dive into the chaos of whipping up these beauties. First, gather all your stuff — trust me, it’s wildly easier if you know where things are. Preheat that oven like your life depends on it (350 degrees if you must know). To kick things off, mix your butter and sugars until they’re best buds. Then, add your beloved eggnog and vanilla. Careful, I once mistook vanilla for soy sauce — don’t do that. Gradually toss in your flour, nutmeg, and the rest. I always spill a bit, so if you’re messy like me, you’re a-okay. Pop spoonfuls on a baking sheet — more or less similar in size — and bake until they’re goldeny brown and you can’t handle waiting anymore.
Ingredient Notes
– Butter: Keeps everything smooth instead of a crumbly desert.
– Eggnog: The superstar. Skip it, and you’ve just made, well… cookies.
– Nutmeg: The boss of holiday spice. Don’t skimp unless you’re living super dangerously.
Recipe Steps: You must fill the “Recipe Steps” section with a clear, step-by-step version of the instructions. Do not leave it empty. Summarize the main actions from the ‘How to Make It’ section in concise steps. Each step should start with a verb and follow a numbered format.
1. Preheat oven to 350°F (because great things start with a warm oven).
2. Cream together butter, sugars, eggnog, and vanilla until smooth.
3. Gradually add flour and nutmeg, then mix until it all comes together.
4. Drop cookie dough onto a baking sheet by spoonfuls.
5. Bake until the edges look wonderfully goldeny (about 10-12 minutes).
What to Serve It With
Tips & Mistakes
– Forget to preheat the oven? Been there. It just goes a tad slower.
– Dropped some extra nutmeg? More holiday in every bite, no harm.
Storage Tips
Pop leftovers (if there are any) into an airtight container, or they’ll go all stale on you. They still taste amazing cold or if warmed for breakfast — count it as research, not dessert.
Variations and Substitutions
Let’s talk being resourceful. Low on sugar? Swirl in some honey. Out of eggnog? Well, that’s a bit trickier, but who am I to judge — try a splash of milk with a pinch of nutmeg. And when all else fails, just roll with it. Some of my best “eh, it’s close enough” recipes are born this way.
Frequently Asked Questions

Eggnog Dream Cookies
Ingredients
Main Ingredients
- 1.5 cups all-purpose flour
- 0.5 teaspoons baking soda
- 0.5 teaspoons salt
- 0.75 cups unsalted butter, softened
- 1 cup granulated sugar
- 0.5 cups powdered sugar
- 1 large egg
- 0.5 cups eggnog use your favorite brand or homemade
- 1 teaspoons vanilla extract
- 0.25 teaspoons ground nutmeg
- 0.25 teaspoons ground cinnamon
Instructions
Preparation Steps
- Preheat the oven to 350°F (175°C). Line a baking sheet with parchment paper.
- In a medium bowl, whisk together the flour, baking soda, salt, nutmeg, and cinnamon.
- In a large bowl, beat the softened butter with granulated sugar and powdered sugar until creamy.
- Add the egg, eggnog, and vanilla extract into the butter mixture and mix until well combined.
- Gradually add the dry ingredients to the wet ingredients, stirring until just combined.
- Drop rounded tablespoons of dough onto the prepared baking sheet, spacing about 2 inches apart.
- Bake for 10 to 12 minutes or until the edges are lightly golden. Let cookies cool on the sheet for 5 minutes before transferring to a wire rack.