
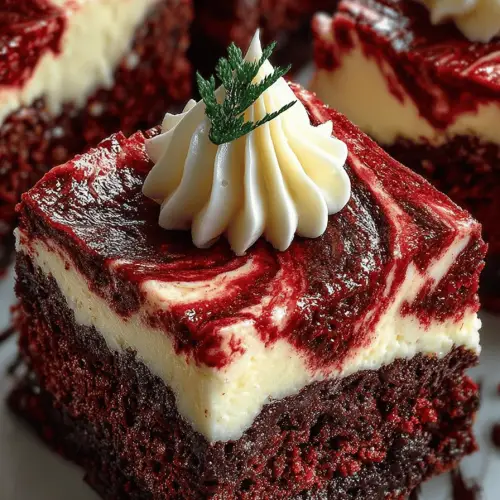
Red Velvet Decadence

Alright, folks, gather ’round because I’ve got a little treat for you! This little number right here is Red Velvet Decadence, and, let me tell you, it’s not just a cake — it’s a vibe. Imagine that classic red velvet flavor, rich and velvety (duh!), but somehow even more…decadent? Yep, that’s happening. This is one of those recipes you pull out when you need a dessert that’ll dazzle everyone but secretly doesn’t ask too much of you. Try it, I promise it’ll become your go-to for impressing without the stress!
You know a recipe is special when your husband starts requesting it every other weekend, right? This Red Velvet Decadence has turned into something of a ritual in my house. I can remember the first time I whipped this up — I literally had flour in my hair, the dog was barking at a squirrel, and the kids were somehow arguing over a sock (??), but when that red velvet hit the table, silence. Blessed silence. It was beautiful. Now it’s a staple, our sweet family tradition amidst the chaos.
MORE OF OUR FAVORITE…
Why You’ll Love This Red Velvet Decadence
1. It’s the fluffiest red velvet you’ll ever meet. Seriously, you could nap on it.
2. It pairs perfectly with any occasion. Whether you’re celebrating or commiserating, this cake’s got your back.
3. It’s impossible to mess up. Trust me, if I can make it, you certainly can.
How to Make It
Alright, here’s the deal. You start by preheating that oven of yours to about 350°F — don’t forget like I did that one time, or you’ll be waiting forever. Mix up your dry ingredients with a reckless confidence, then in another bowl, tackle the wet ones. Beat those together until it feels right, but don’t go overboard, unless you’re into chewing on rubbery cake (been there, done that). Pop it in the oven and let the magic happen. You might find yourself pacing in front of the oven — totally normal behavior.
Ingredient Notes
– Cocoa Powder: This little bomb of flavor is what gives your cake its rich depth. Don’t skimp, folks.
– Red Food Coloring: It’s what makes it Pinterest-pretty. Tried skipping it once? Yeah, just a brown velvet cake. Meh.
– Buttermilk: Ah, the secret sauce. It’s what makes everything so tender and tangy. DIY with milk and vinegar if you have to.
Recipe Steps
1. Preheat the oven to 350°F and prep your baking dish like it’s a canvas waiting for a masterpiece.
2. Combine dry ingredients in one bowl and wet ones in another, embracing the impending mess.
3. Mix your bowls together until you’re happy — but not too long!
4. Pour the batter into the dish, resisting the urge to taste-test (okay, maybe just a little).
5. Bake, and while it’s cooking, do a happy dance, because dessert is almost here.
What to Serve It With
Tips & Mistakes
– Make sure you preheat the oven — it’s a game-changer.
– Always grease your pans like your life depends on it. That cake doesn’t want to leave without a fight.
Storage Tips
So, if you find yourself with leftovers (ha, good luck with that), toss ’em in the fridge. Just cover it, though — I once ate a slice cold for breakfast, no shame, and it was just as divine.
Variations and Substitutions
Okay, here’s where the magic happens. No buttermilk? Milk with a splash of vinegar works in a pinch. Running low on red food coloring? Don’t fret too much; it’s still cake without it. Tried honey instead of sugar once, and it gave us a whole new kinda sweetness. Experiment, we’re all learning here!
Frequently Asked Questions
Red Velvet Decadence
Ingredients
Main Ingredients
- 2.5 cups all-purpose flour
- 1.5 cups granulated sugar
- 1 teaspoon baking soda
- 1 teaspoon salt
- 1 tablespoon cocoa powder
- 1 cup vegetable oil
- 1 cup buttermilk at room temperature
- 2 large eggs at room temperature
- 2 tablespoons red food coloring
- 1 teaspoon vanilla extract
- 1 teaspoon white vinegar
Instructions
Preparation Steps
- Preheat oven to 350°F (175°C). Grease and flour two 9-inch round cake pans.
- In a large bowl, sift together flour, sugar, baking soda, salt, and cocoa powder.
- In another bowl, whisk together vegetable oil, buttermilk, eggs, food coloring, vanilla extract, and vinegar.
- Slowly add the wet ingredients to the dry ingredients, mixing until smooth and well combined.
- Divide the batter evenly between the prepared pans and bake for 25 minutes or until a toothpick inserted into the center comes out clean.
- Allow cakes to cool in the pans for 10 minutes; then remove and cool completely on a wire rack before frosting.