
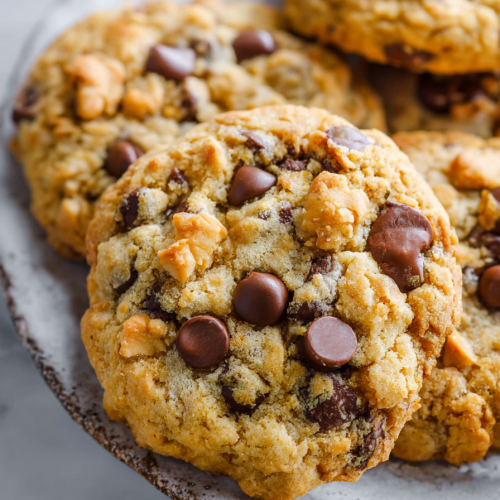
Delish Texas Cowboy Cookies
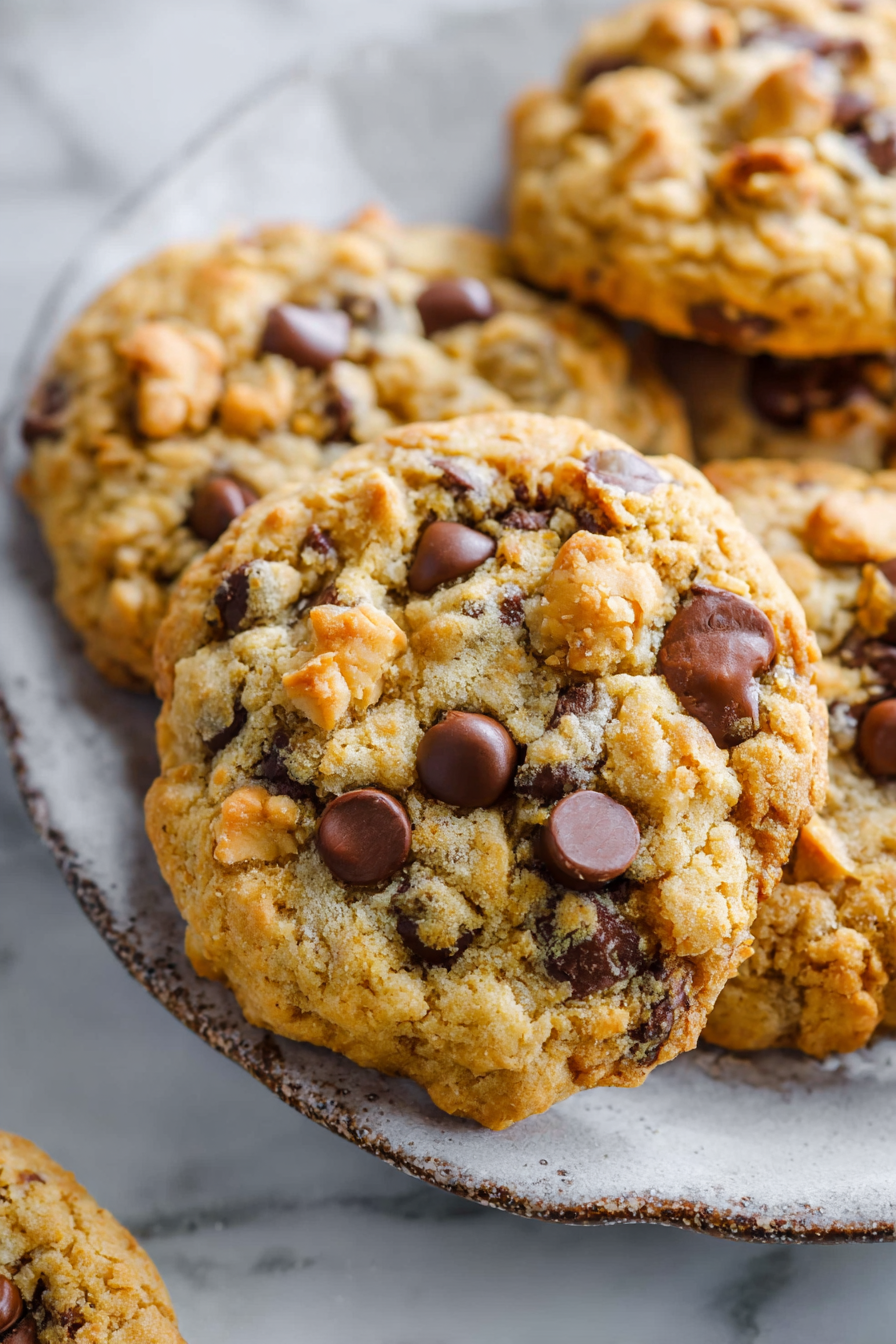
I made these Delish Texas Cowboy Cookies because Texas deserves cookies as big and unapologetic as its state flag. They’re a crunchy-chewy mashup of oats, chocolate, pecans, and maybe a whisper of cowboy bravado—basically everything you want in a cookie when you refuse to choose between dessert and a snack. They’re special because they survive being squished in a cookie tin, traffic jams, and my kids’ sticky little fingers; also because they look impressive even if you used the tiny spatula to flatten them (don’t tell anyone). Try them if you like your bakeware battle-tested and your cookies with a side of sass.
Once, I tried making these while my husband attempted to “help” by measuring flour with his phone flashlight between his teeth. He somehow managed to misread cups as tablespoons, dumped half the bowl into a single spoon, and declared the dough “very artisanal.” The kids thought it was a magic trick and ate the spare chocolate chips off the counter like it was performance art. We still ended up with cookies, slightly confused-looking but edible—and that’s a win in my kitchen.
MORE OF OUR FAVORITE…
Why You’ll Love This Delish Texas Cowboy Cookies
– They’re big, bold, and unapologetically overstuffed—because portion control is for salad.
– Textural chaos: chewy oats, melty chocolate, and nutty pecans in one glorious bite.
– Kid-approved and suspiciously good with coffee (or bourbon, I won’t judge).
– They travel well to bake sales, car trips, and neighborly passive-aggressive gift-giving.
Time-Saving Hacks
– Use pre-chopped pecans and pre-shredded coconut. Yes, I know. It’s cheating. It’s delicious.
– Mix the dry stuff in one bowl and the wet in another—then dump. Same dishes, less brain power.
– Line the tray with parchment so you can pretend you don’t need to wash a pan. It’s a lie, but a useful one.
– Scoop dough with an ice cream scoop and freeze on the tray—bake straight from frozen for evenly spaced cookies and fewer pan-wrangling moments.
– Life hack: If you’re in a rush, bake fewer cookies at once. Smaller batches = less crowding = fewer flat sad cookies.
Serving Ideas
– Serve warm with a glass of cold milk and a smug face.
– Offer with coffee in the morning and act like they’re part of a balanced breakfast.
– Serve with wine if the kids drove you nuts—Cabernet pairs well with chocolate and passive parenting.
– Keep it simple: plate ’em, smile, tell guests you made them from scratch (technically true).
What to Serve It With
A scoop of vanilla ice cream for dramatic melting. A hunk of cheddar if you’re feeling adventurous and want to start an argument about dessert etiquette. Or just hand someone a napkin and let them fend for themselves.
Tips & Mistakes
– Pro tip: Don’t overmix the dough unless you enjoy hockey-puck cookies. Mix until the flour just disappears.
– If your cookies spread too much, chill the dough for 30 minutes. Or blame the oven and keep baking.
– Under-bake slightly for a chewy center—these cookies look done before they actually are. Trust the edges, not your impatience.
– Use room-temperature butter unless you like inventing new cookie textures. I tried cold butter once. It was a sad science experiment.
Storage Tips
Store it in the fridge… if there’s any left. Cold midnight leftovers? Sometimes better than fresh.
– Keep in an airtight container at room temp for up to 5 days—if they survive that long.
– Freeze baked cookies separated with parchment for up to 3 months. Thaw at room temp or in the microwave for 10 seconds if you’re impatient like me.
Variations and Substitutions
Swap whatever you want—sugar ↔ honey, soy sauce ↔ tamari, or skip steps and call it “deconstructed.” It still counts.
– Swap pecans for walnuts or almonds—no one’s checking your nut loyalty.
– Use dark chocolate chunks for drama or milk chocolate chips for crowd-pleasing simplicity.
– Make them gluten-free with a 1:1 gluten-free flour—texture might be slightly proud of itself.
Frequently Asked Questions
Delish Texas Cowboy Cookies
Ingredients
Main Ingredients
- 1 cup all-purpose flour
- 0.5 cup brown sugar
- 0.5 cup granulated sugar
- 1 cup butter, softened
- 2 large eggs
- 1 cup rolled oats
- 0.5 cup chocolate chips
- 0.5 cup chopped nuts
- 1 teaspoon baking soda
- 0.5 teaspoon salt
- 1 teaspoon vanilla extract
Instructions
Preparation Steps
- Preheat the oven to 350°F (175°C).
- In a large mixing bowl, cream together the softened butter, brown sugar, and granulated sugar until smooth.
- Add the eggs and vanilla extract to the mixture, and mix until well combined.
- In a separate bowl, combine the flour, baking soda, and salt. Gradually add this dry mixture to the wet ingredients, stirring until just combined.
- Fold in the oats, chocolate chips, and chopped nuts.
- Drop rounded tablespoons of dough onto ungreased baking sheets, spacing them apart.
- Bake for 10-12 minutes or until the edges are golden.
- Remove from the oven and let cool on the baking sheets for a few minutes before transferring to wire racks to cool completely.