
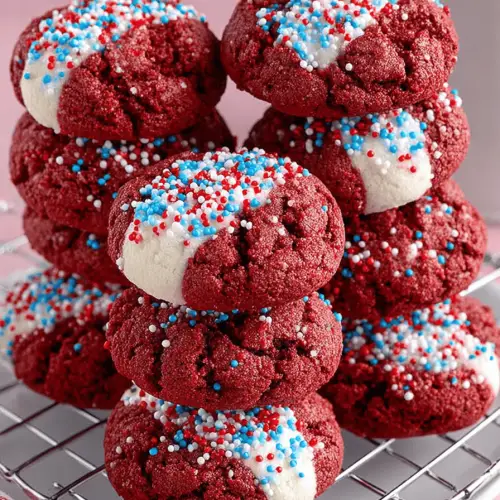
Red Velvet Crumb Cookies
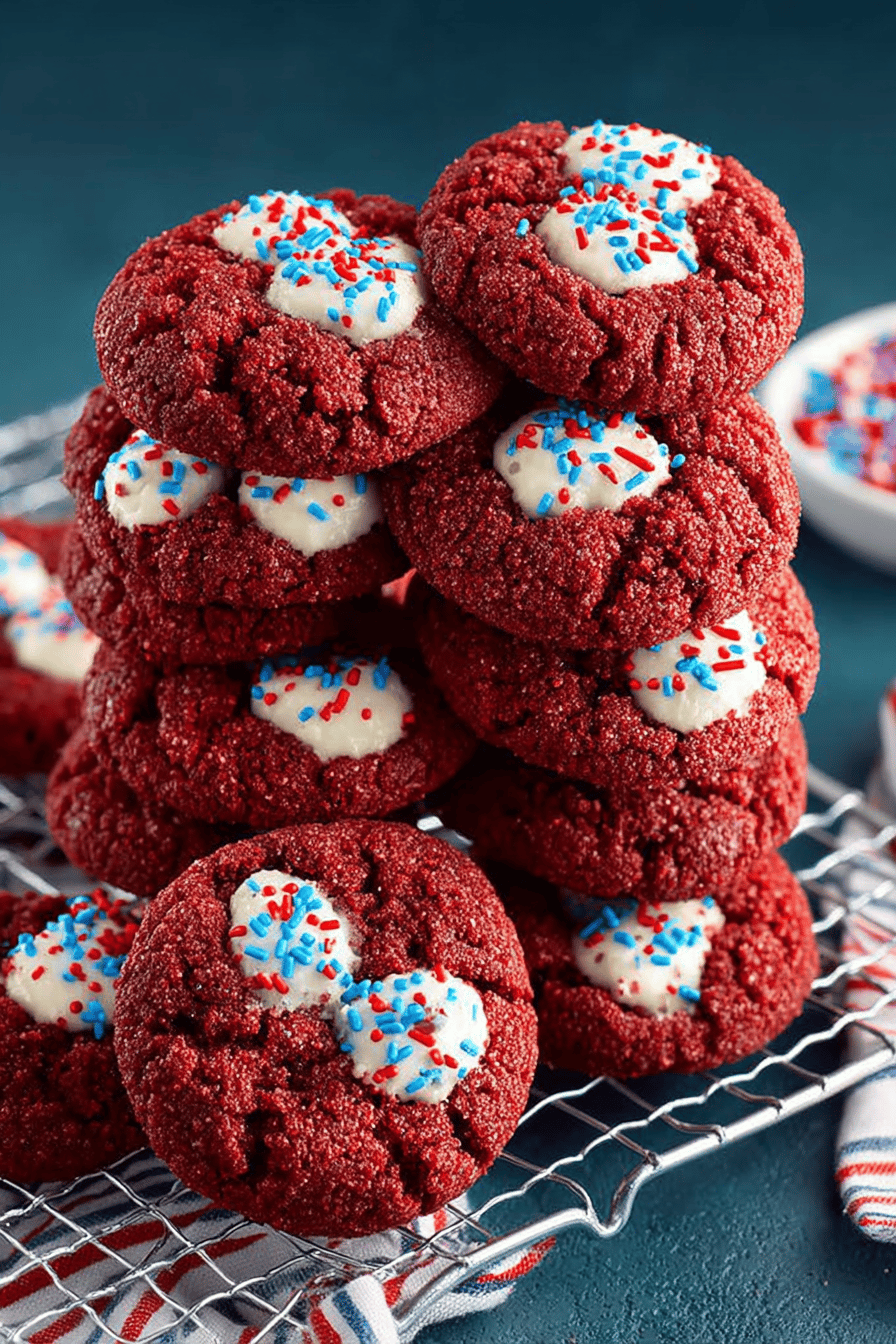
Sometimes the best things in life come in the form of crumbly, gooey bites of heaven! Enter: Red Velvet Crumb Cookies. Picture this: red velvet cake had a secret, delicious rendezvous with a cookie, and boom, this was the beautiful result. These cookies are a little special because they perfectly balance that rich, velvety cocoa flavor without being overly sweet, and when topped with crumbs, oh buddy, they hit differently. These are for the days you want to impress yourself more than anyone else. Let’s get messy in the kitchen, shall we?
Let me tell ya, when my husband first tasted these, I caught him with cookie crumbs all over his shirt, unabashedly smiling like a happy little kid. It’s a beautiful sight to see the sheer joy something you’ve made brings. Now, these crumb-tastic delights are pretty much a regular request in our household, almost like they’ve taken up permanent residency in the cookie jar (not that I’m complaining). We clear them off the counter as fast as they get out of the oven. Honestly, if love had a taste, these cookies would be it.
MORE OF OUR FAVORITE…
Why You’ll Love This Red Velvet Crumb Cookies
– Because it feels like a mini celebration with each bite. Seriously, who doesn’t want to party with a cookie?
– They’re like a cozy sweater on a chilly day: warm, comforting, and just a bit addictive.
– That delightful crumb topping screams, “Hey! Look at me, I’m fancy!” But we all know you’re secretly a mess like the rest of us.
How to Make It
Alright, my kitchen companions, here’s the lowdown on getting these cookies from your mind to reality. Start by rummaging through your pantry for flour and…oops, almost forgot the eggs! Mix those bad boys with some cocoa and sugar. Don’t worry if you spill a bit; who cares about spills when the end result is this good, right? Add some butter (the real stuff) to make the dough sing. Get aggressive with your hand mixer if it’s one of THOSE days. Now onto the good stuff: layer the dough with those crumbly, magical bits. You can snack on a few, too; I won’t tell. Toss them into the oven and just try to resist peeking too soon.
Ingredient Notes
– **Flour**: The backbone of our cookie life. If you dump it all at once, you might get a flour cloud. Ask me how I know.
– **Cocoa Powder**: The key to that deep velvet flavor. Don’t skimp; I did once, and it tasted like regret.
– **Butter**: Real butter, folks. Makes everything glide smoothly. Margarine wasn’t invited to this party.
Recipe Steps:
1. Preheat that oven, so those cookies don’t wait on you to warm up.
2. Mix your dry ingredients like they’re the best of friends.
3. Beat the butter like it owes you money.
4. Gradually integrate, which is a fancy word for throw it all together.
5. Crumb on top — let your inner artist shine.
6. Bake until your kitchen smells otherworldly.
What to Serve It With
**Tips & Mistakes**
Keep an eye on the oven. I walk away for a “quick” text check, come back, and they’re borderline dramatic crisps!
**Storage Tips**
These cookies, honestly, don’t last long enough to truly need storage instructions in my house, but in case you do—store them in an airtight container. They play well with others when cold, and, breakfast alert: they pair awesomely with a hot cup of coffee, not that I still have cookies left over for breakfast very often.
**Variations and Substitutions**
So you’re out of cocoa? Ok, it’s a mission-defining moment, but hey, chocolate chips can swoop in as emergency sustenance. I once tried almond flour, and it was a funny kind of nutty adventure. Little swaps can make magic. Or, you could just experiment and name your concoction a holiday treat.
Frequently Asked Questions
Red Velvet Crumb Cookies
Ingredients
Main Ingredients
- 2 cups all-purpose flour
- 0.75 cup granulated sugar
- 0.5 cup unsweetened cocoa powder sifted
- 1 tsp baking soda
- 0.5 tsp salt
- 0.5 cup unsalted butter softened
- 1 large egg
- 2 tbsp red food coloring
- 1 tsp vanilla extract
- 4 oz cream cheese for icing, softened
- 1 cup powdered sugar for icing
Instructions
Preparation Steps
- Preheat oven to 350°F (175°C) and line a baking sheet with parchment paper.
- In a medium bowl, whisk together flour, cocoa powder, baking soda, and salt.
- In a large bowl, cream the butter and sugar until light and fluffy.
- Add the egg, red food coloring, and vanilla extract to the butter mixture and mix well.
- Gradually add the dry ingredients to the wet mixture until combined.
- Using a tablespoon, drop spoonfuls of dough onto the prepared baking sheet, spacing them about 2 inches apart.
- Bake for 12-15 minutes or until edges are set and centers are still slightly soft.
- Let cookies cool on the baking sheet for 5 minutes before transferring to a wire rack to cool completely.
- For the icing, beat cream cheese and powdered sugar until smooth, then drizzle over cooled cookies.