
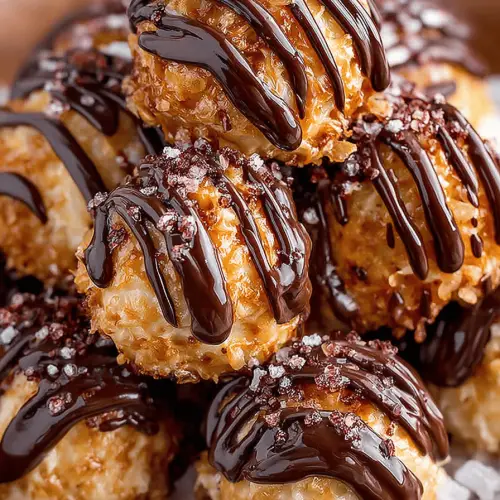
Samoa Truffles
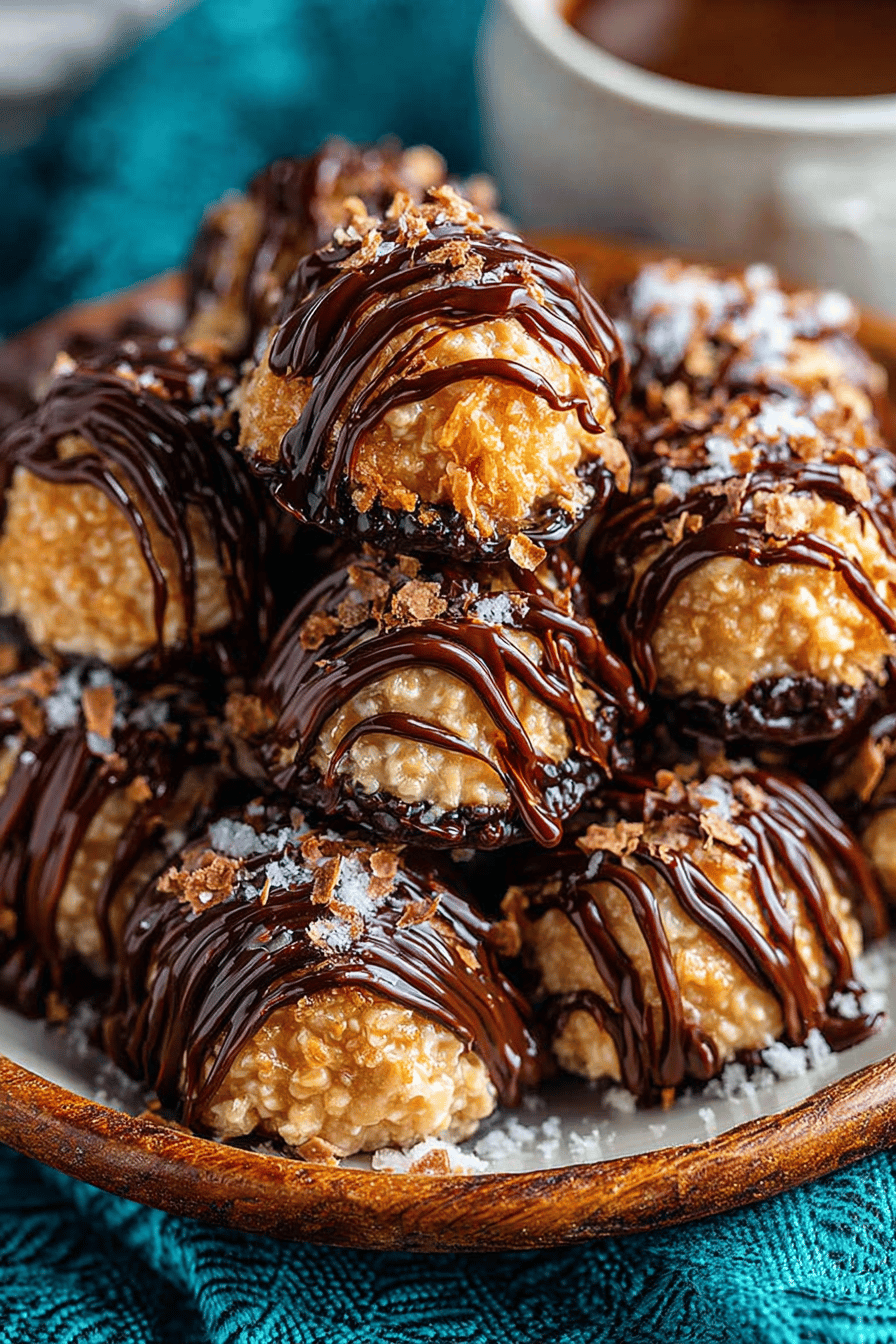
Okay, folks, let’s talk sweetness, chocolatey goodness, and the magic that is Samoa Truffles. These bite-sized morsels are pretty much happiness covered in chocolate. They’re a delightful blend of caramel, coconut, and chocolate, and let’s not pretend they’re not inspired by that infamous Girl Scout cookie we all secretly (or not so secretly) hoard during cookie season. You’ve gotta try them because they’re the kinda recipe that makes you feel like a kitchen wizard without requiring wizard-level skills.
Let me tell you a little something about these heavenly truffles. My husband is no stranger to dessert, but these truffles, man, they take the (imaginary) cake in our house. They’ve basically become a currency for affection around here. Not even kidding, one time our little one decided they wouldn’t go to sleep without just one more truffle. The power these little treats hold is both impressive and slightly terrifying. But the best part? Watching their faces light up with chocolatey joy makes those sticky kitchen mishaps oh so worth it.
MORE OF OUR FAVORITE…
Why You’ll Love This Samoa Truffles
– You don’t need to be in the scouts to enjoy these bites of bliss.
– They’re beginner-proof and impossible to mess up—trust me, I’ve tried.
– Suitable for every occasion: bad day, good day, just because day.
– No baking involved! Hallelujah!
How to Make It
Alright, grab your spatula and let’s do this! First, stir up that coconut in a pan until it’s beautifully toasted. Don’t wander off though—it goes from toasted to burnt faster than a toddler high on sugar. Then, melt your chocolate and caramel in separate bowls. Try not to dive headfirst into either… yet. Mix everything else together into a sticky heap of joy, then form little balls. Yes, it gets messy, but that’s half the fun, right? Dunk them in the melted chocolate, find the patience to let them set (or not, I don’t judge), and voilà! Homemade Samoa Truffles that’ll knock your socks off.
Ingredient Notes
– Chocolate Chips: Your truffle’s best friend. Don’t skimp on quality unless you enjoy disappointment.
– Caramel: The sticky glue of our truffles. My mortal enemy because I’ll eat it all before it hits the mix.
– Shredded Coconut: Toasty and perfect. Try not to snack it all before it makes it to the bowl.
Recipe Steps:
1. Toast the shredded coconut until golden.
2. Melt chocolate chips and caramel separately.
3. Combine ingredients and form into truffle-sized balls.
4. Dip truffles into melted chocolate.
5. Let them set until the chocolate firms up. Then enjoy!
What to Serve It With
Tips & Mistakes
Storage Tips
Oh, storage, my sweet nemesis. If you happen to have leftovers (which, let’s be honest, is a big “if”), pop them in an airtight container and stash them in the fridge. Just know they’re equally delightful eaten cold during a midnight raid. Or nibble on them at breakfast—I’m not here to judge your life choices.
Variations and Substitutions
Alright, let’s talk swaps. If you’re ever in a pinch, or the apocalypse happens and there’s no coconut left on earth (heaven forbid), try crushed nuts or oats. Out of brown sugar? No sweat—I’ve experimented with both honey and maple syrup, and survived to tell the tale. You do you, and as always, fingers crossed it works out!
Frequently Asked Questions
Samoa Truffles
Ingredients
Main Ingredients
- 2 cups sweetened shredded coconut
- 8 oz cream cheese softened
- 12 oz caramel sauce
- 16 oz semisweet chocolate chips for coating
- 0.5 cups powdered sugar
Instructions
Preparation Steps
- Toast the shredded coconut in a dry skillet over medium heat until golden brown, about 5 minutes.
- In a mixing bowl, combine softened cream cheese and powdered sugar until smooth.
- Mix in the toasted coconut and caramel sauce until fully incorporated.
- Chill the mixture for 30 minutes, then roll into 1-inch balls and place on a baking sheet.
- Melt the semisweet chocolate chips in a double boiler or microwave. Dip each truffle into the melted chocolate to coat completely.
- Place coated truffles back on the baking sheet and refrigerate for at least 1 hour before serving.