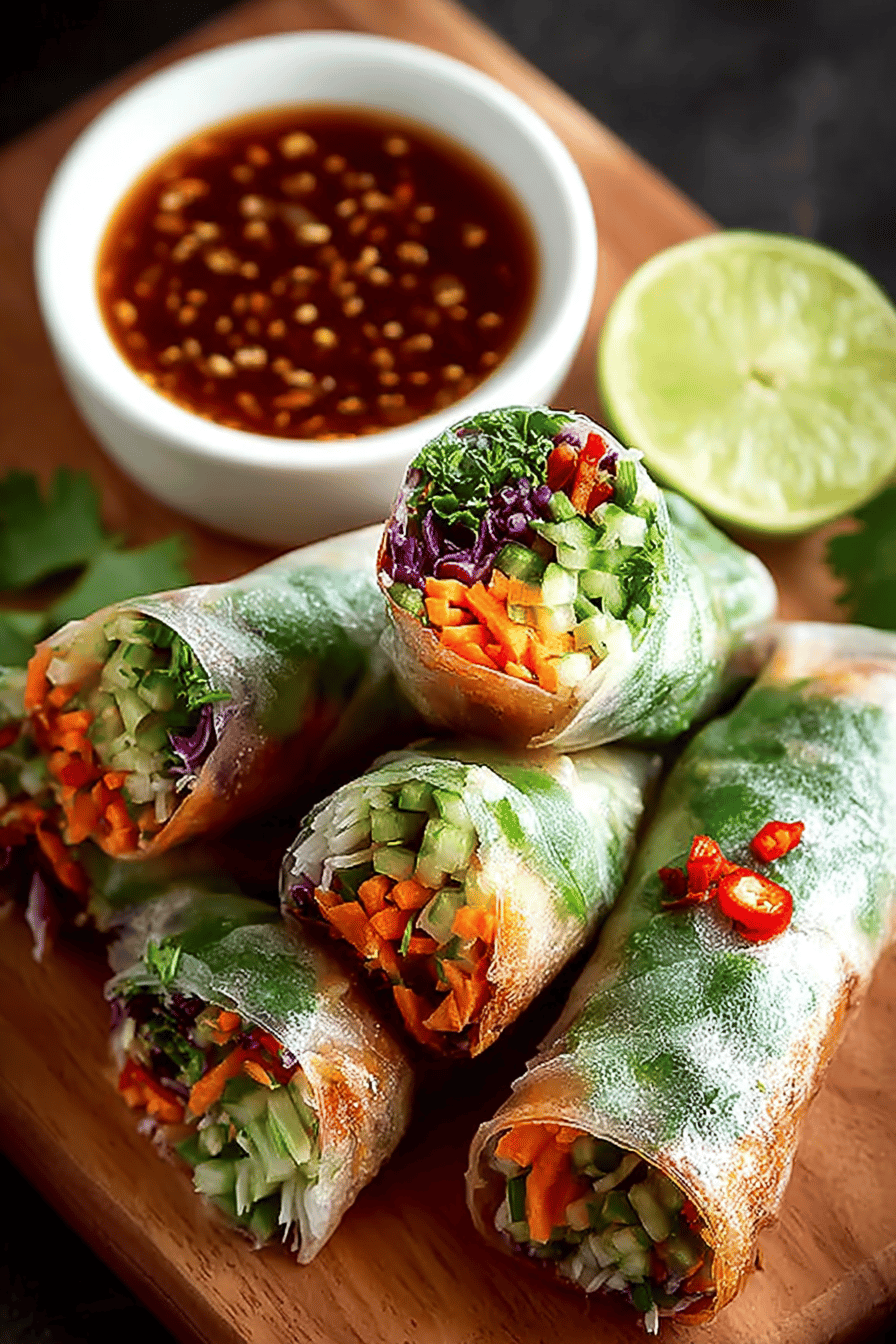
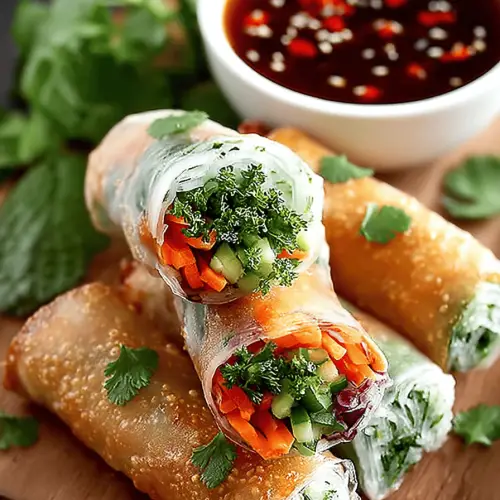
Delish Thai Spring Rolls

Gather ’round, food adventurers! Let me introduce you to my swipe-right forever recipe: Delish Thai Spring Rolls. These delightful little bundles of joy are like crunchy treasures wrapped in a cozy rice paper blanket. They’re endlessly satisfying and the kinda thing that makes your tummy do the happy dance. Why try them, you ask? Well, because they’re the perfect combo of fresh, zesty, and a pinch of daring. Plus, they make you look super fancy at potlucks.
Alright, lovelies, here’s the scoop. My husband practically begs for these on a weekly basis, not joking! Since our whirlwind spring break road trip, these spring rolls have become part of our crazy, messy life. We started making them after a fabulous Thai place lured us in with irresistible smells. Now, they’re our secret weapon to turn any blah evening into a spicy, crunchy fiesta.
MORE OF OUR FAVORITE…
Why You’ll Love This Delish Thai Spring Rolls
1. They make you look like a culinary wizard without much effort—trust me.
2. They’re so refreshing, they’re practically crisp air on a plate.
3. You can eat like 12 in one sitting and still feel virtuous. Win-win!
How to Make It
Alrighty, let’s dive into this culinary adventure. You’re basically making salad burritos, and it’s gonna be awesome. Start by clearing the kitchen, ‘cause things are about to get wild. Grab all your veggies and chop them into strips—think snowflakes, every one a bit different, and all are welcome.
Now for the fun part. Dampen the rice paper like it’s a tiny baby, gently dipping it in water, but don’t leave it for a swim, okay? Lay it on a clean, damp spot, and watch it soften like a magic trick.
Next, throw down some leafy goodness, a few shredded carrots, maybe some mint or cilantro—honestly, whatever. Tuck in the sides, roll from the bottom, and boom, you’ve got a masterpiece. Repeat until you’ve got enough for a glorious tower of rolls. Dip in your fave sauce and let ‘em fly!
Ingredient Notes
– Rice Paper: Ah, the delicate diva. Immerse it in water briefly or you’ll end up with an oozy mess. Trust.
– Veggies: All about crunch here. Try not to go overboard or you’ll be making ‘spring burritos’.
– Herbs: Fresh is a must. Once tried dried… let’s say, don’t.
Recipe Steps:
1. Chop veggies and herbs into thin strips.
2. Soak rice paper in water, lay on a damp cloth.
3. Arrange veggies and herbs in the center of the rice paper.
4. Fold sides, roll from the bottom tightly.
5. Serve with your choice of sauce.
What to Serve It With
Tips & Mistakes
Keep your workspace damp, but not swimming in water – soggy rolls are no one’s friend. And don’t stress too much if they’re not perfect. Cracked rolls still taste divine.
Storage Tips
If you’re lucky enough to have leftovers, wrap them snugly in plastic wrap and pop ’em in the fridge. They’ll stay fresh for a couple of days, and hey, they’re surprisingly good for breakfast if you’re into breaking norms!
Variations and Substitutions
Listen, I’ve been in the land of empty fridges and wild substitutions. No rice paper? Lettuce leaves will do in a pinch, not quite the same, but hey, it’s crunchy. And feel free to throw some cooked shrimp in there if you’re feeling fancy or just found some lurking in the freezer.
Frequently Asked Questions

Delish Thai Spring Rolls
Ingredients
Main Ingredients
- 12 pieces Rice paper wrappers
- 1.5 cups Shredded carrots
- 1 cup Thinly sliced red bell pepper
- 0.5 cup Fresh mint leaves Chopped
- 0.5 cup Fresh cilantro Chopped
- 1 cup Cooked shrimp Sliced in half lengthwise
- 0.75 cup Rice vermicelli noodles Cooked according to package instructions
Peanut Dipping Sauce
- 0.5 cup Peanut butter Smooth
- 2 tablespoons Soy sauce
- 1 tablespoon Lime juice Freshly squeezed
- 1 tablespoon Honey
- 1 clove Garlic Minced
- 0.25 teaspoon Crushed red pepper flakes Optional
- 2 tablespoons Warm water To thin sauce
Instructions
Preparation Steps
- Prepare the rice vermicelli noodles according to package directions, drain and set aside.
- Dip one rice paper wrapper into warm water for about 10 seconds until soft. Lay flat on a clean surface.
- Place a small handful of noodles, shredded carrots, bell pepper, herbs, and shrimp onto the bottom third of the wrapper.
- Fold the bottom edge over the filling, then fold sides inward and roll tightly to seal.
- Repeat with remaining wrappers and filling ingredients.
- To make the peanut sauce, whisk together peanut butter, soy sauce, lime juice, honey, garlic, red pepper flakes, and warm water until smooth.
- Serve the spring rolls with the peanut dipping sauce on the side.
